I recently discovered that several services on my home All-in-One server were malfunctioning. When I tried to SSH into the virtual machine for repairs, I found that even using the `cat` command to view files resulted in an Input/Output error. After hitting Enter a few more times, the shell was terminated by the server. I then logged into the PVE platform to find that the virtual machine had stopped unexpectedly and couldn’t be restarted. I thought, “This can’t be good,” so I proceeded with a thorough check of the server.
After investigating, I realized that the hard drive on the server had failed. The S.M.A.R.T status showed it as Failed, indicating that the reserve space on the hard drive was completely used up.
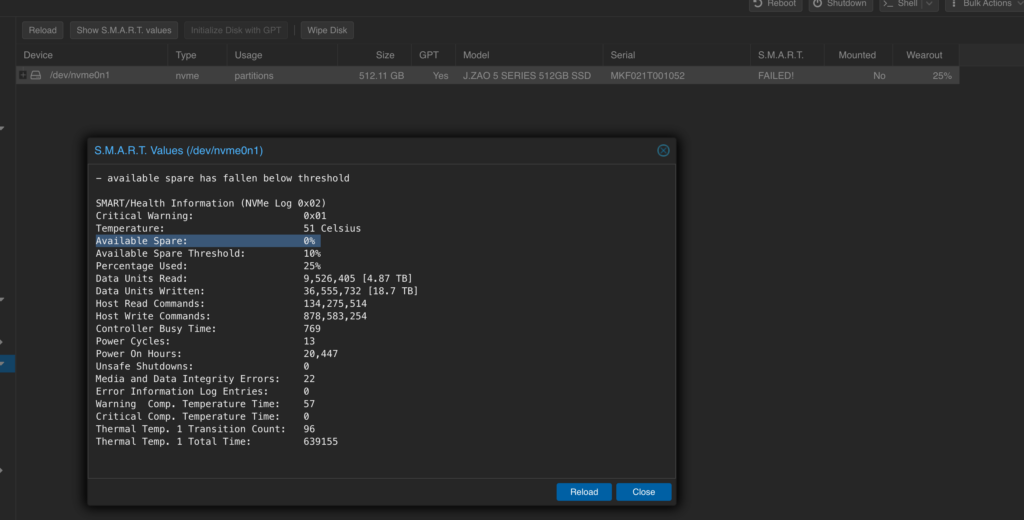
About the hard drive incident
- This hard drive was only used for a year and a half, but the Power On Hours showed I had used it for 2.3 years… After some back and forth with the manufacturer, they eventually told me it was a firmware issue. The upside was that I was able to return it, but the downside is that the manufacturer was pretty dodgy about it…
Data Recovery
Knowing that the hard drive had failed and could not be repaired, the next step was to attempt to recover the data. First, I downloaded the entire virtual machine to my local system as a backup:

Attempting to Repair the qcow2 File with qemu-img
I tried to repair the qcow2 file using the qemu-img info command to check the file status:

Then, I used qemu-img check -r all to attempt the repair. The results showed that the repair had failed, and I could only reasonably suspect that the SSD’s damage had caused the read/write data blocks to become corrupted, rendering them unrecoverable.

Attempting to Repair qcow2 by Converting Formats
I attempted to repair the qcow2 file by converting it to vmdk or img format using qemu-img convert, but this also failed. The error message indicated an Input/Output error.

Using qemu-nbd to Mount the Image and Recover Files (Successful)
After various common methods failed, the only option left was to use qemu-nbd to mount the qcow2 file for data recovery. Here are the steps I followed:
- qemu-nbd -d /dev/nbd0 # Create an nbd device, sometimes you need to load the nbd module first.
- Mount the qcow2 file to /dev/nbd0.
- If the virtual machine’s vgname you need to recover files from is the same as the currently running operating system’s vgname, you have to modify one of them to avoid being unable to specify the correct vg later on.
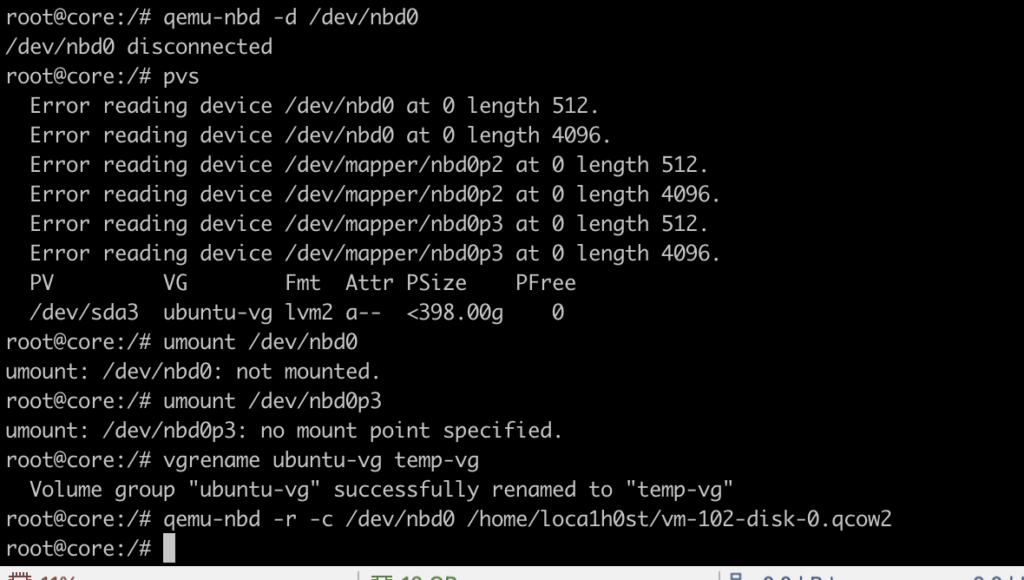
After the mount was complete, I scanned the mounted /dev/nbd0 to identify the corresponding vg/lv.


Next, I mounted the qcow2 with the data to be recovered in read-only mode inside the virtual machine:

Once mounted, I used the dd command to copy the mounted folder into a virtual disk image file. It’s important to note that the command shown in the image is incorrect:
- Using
bs=1Mfor block size is too large; it’s better to set it to the default or smaller to avoid losing the entire block’s file when encountering bad blocks. In my case, the entry for the /var/lib folder was lost, making it impossible to locate the files directly. - Status should be set to
noerror,progress, otherwise, the process will stop executing upon encountering an error.

Here’s a screenshot of the correctly executed command:

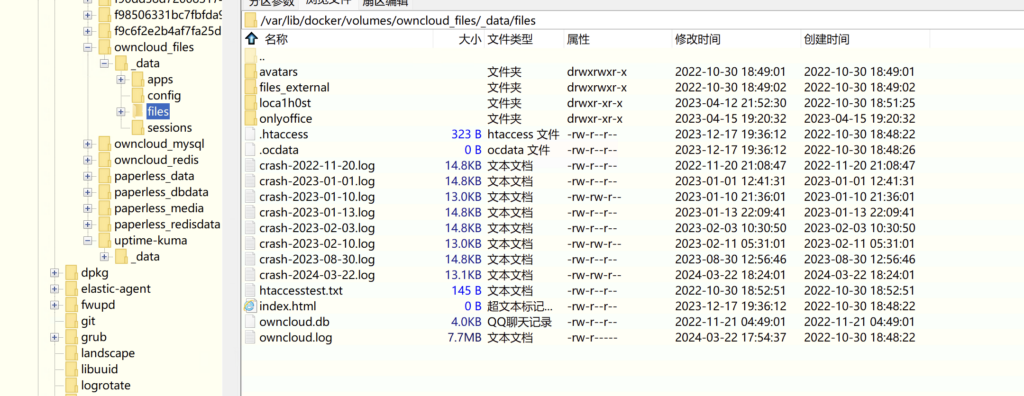
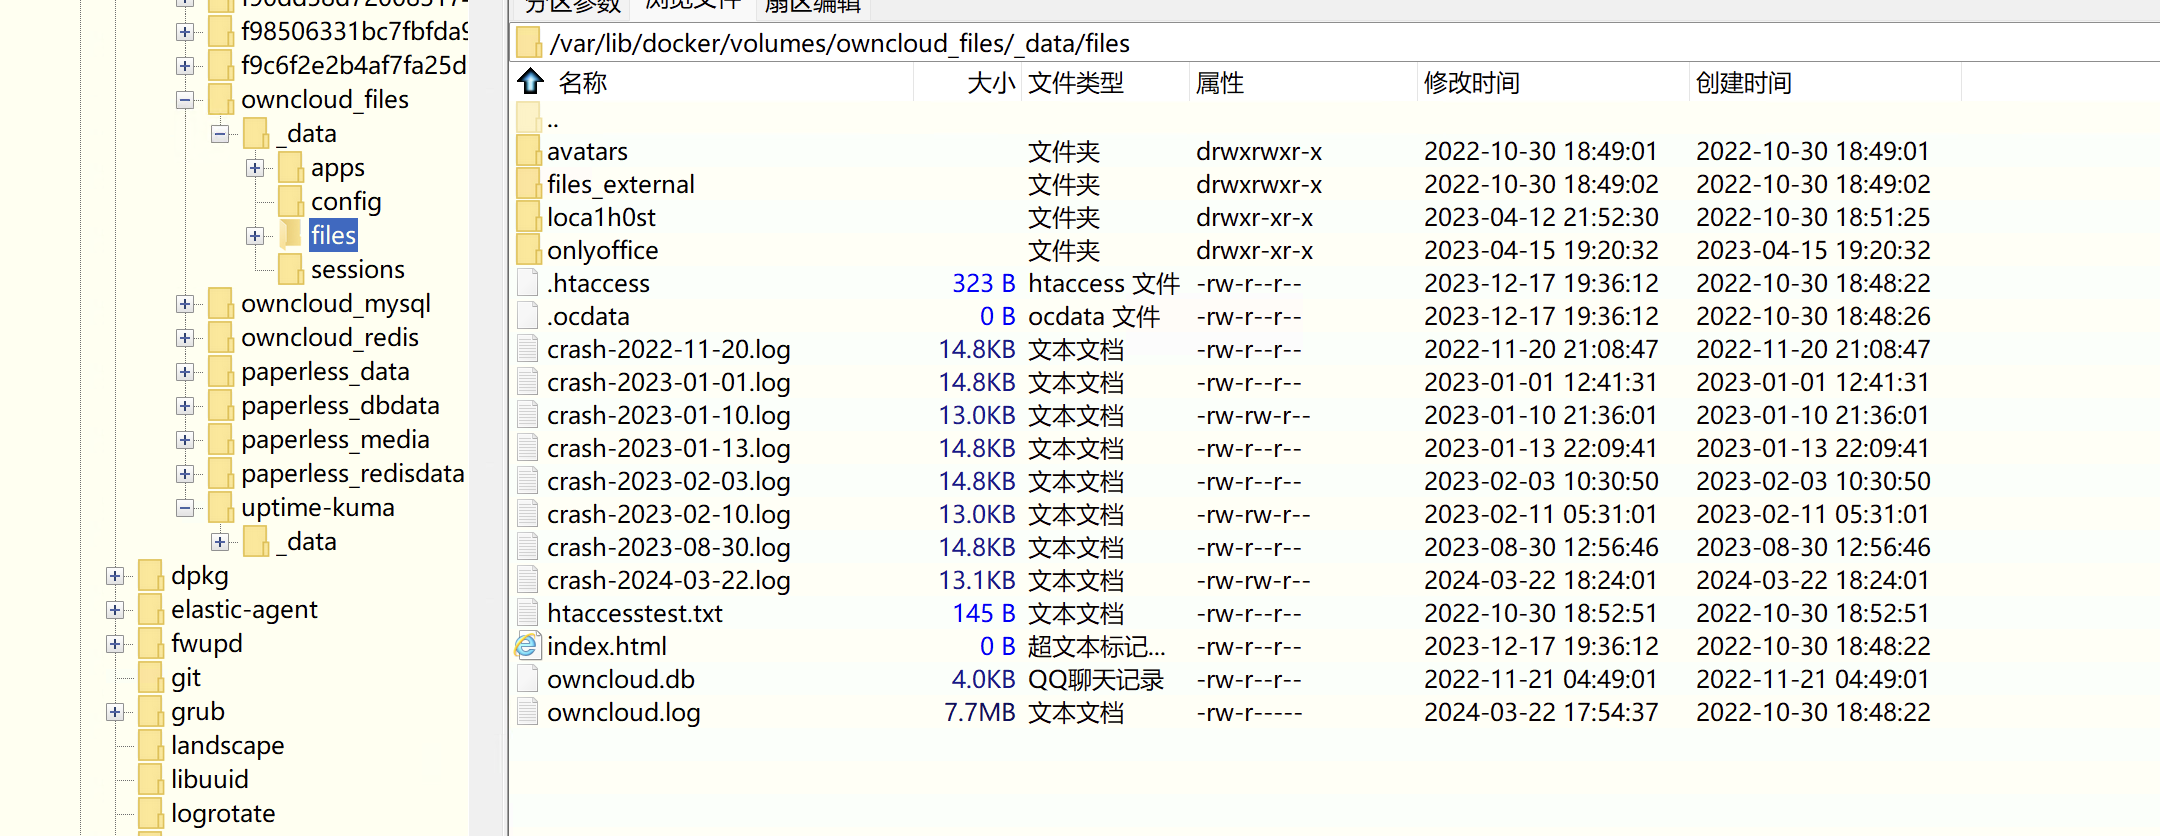
After completing the dd command, I opened the virtual disk image using DiskGenius and successfully recovered the data:
Epilogue
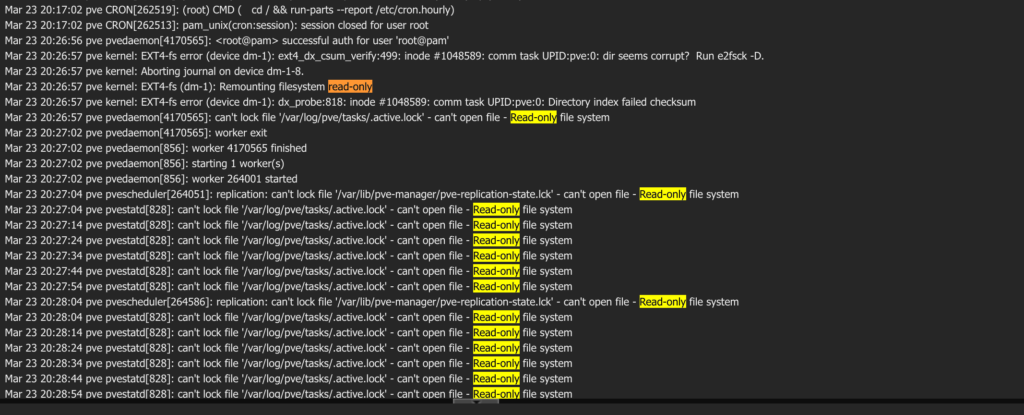
I’m glad I noticed the problem early and was able to quickly sync the qcow2 file to my local system. While I was downloading the file, both the PVE web interface and SSH crashed simultaneously, making it impossible to access the system in any way. If I hadn’t downloaded it in time, recovering the data would have been much more difficult, or even impossible…

Leave a Reply